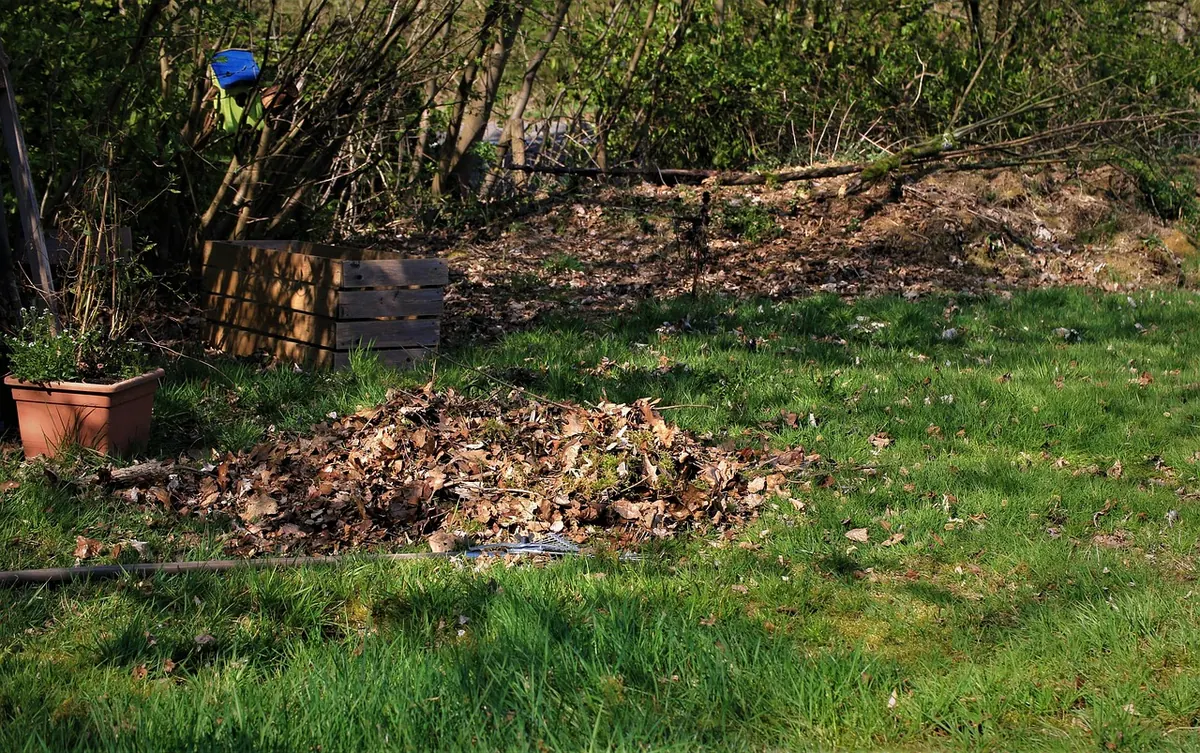
Watch your yard during the next hard rain. Water sheets off the roof, hits the gutters, and fires out of the downspout in a steady stream. The driveway sheds its own share. Somewhere downhill all of it gathers speed, strips the mulch off your beds, carves a small canyon through the lawn, and vanishes into the street. A rain garden is the simplest way to interrupt that parade. It is a shallow, planted depression that catches runoff, holds it for a short while, and lets it soak into the ground instead of sending it to the storm drain.
They are not hard to build, they use plants you would probably want anyway, and once everything fills in they read as a deliberate piece of landscaping rather than a piece of infrastructure.
What a Rain Garden Actually Does
Start with what it is not. A rain garden is not a pond, a bog, or a water feature. A working one holds water for a few hours to a day after a storm and sits dry the rest of the week. If yours still has standing water two days later, the soil beneath it is not draining, and the fix is a different site or a different soil mix, not more plants.
The mechanics are simple. Runoff collects in the basin, spreads out across the surface instead of racing downhill, and then percolates through amended soil. Along the way, sediment settles out, and soil organisms and plant roots take up nutrients that would otherwise feed algae downstream. The garden also recharges shallow groundwater and gives you a patch of yard that needs no mowing and no fertilizer.
What it will not do is solve a yard that floods because the water table sits near the surface all winter, or because a neighbor's grading sends a river across your property. Those are drainage problems and usually need a professional eye.
Where to Put It
The best site is wherever water already wants to go. Walk outside mid-storm with a rain jacket on and trace the flow. Then check your candidate spot against this list:
- At least 10 feet from the foundation, and farther if your basement has ever leaked. Water should move away from the house, never toward it.
- Downhill of a downspout or a paved edge, so gravity does the work for you.
- In full sun to part shade. Most of the best rain garden plants bloom hardest with six hours of sun.
- Away from the septic tank and drain field, the wellhead, and buried utilities. Call 811 before you dig.
- Off slopes steeper than roughly 10 percent, unless you plan to terrace the garden into the hill.
- Out of any low corner where water already stands for days in winter. That spot needs drainage work first.
Redirecting one downspout is the usual entry point. A splash block or a buried extension with a pop-up emitter can deliver roof water to the garden's uphill edge without any trenching heroics.
Sizing the Garden to Your Roof
A common rule of thumb is to make the garden roughly 20 to 30 percent of the impervious area draining into it. A 600-square-foot roof section, for example, points toward a garden of about 150 square feet. Heavy clay soil pushes you toward the larger end; sandy soil lets you shrink it. When in doubt, build bigger and plant the edges with things that tolerate occasional dryness.
Depth matters more than total volume. Excavate 6 to 8 inches, and keep the bottom flat rather than bowl-shaped, so water spreads across the whole footprint instead of pooling in one crater. Pile the excavated soil into a gentle berm along the downhill edge, and cut a shallow spillway through that berm slightly above your ponding depth. That overflow is what routes a once-a-decade downpour safely past the garden instead of through your neighbor's fence line.
Native Plants That Earn Their Space
A rain garden has three moisture zones, and planting by zone is what keeps it from looking patchy. Stick to species native to your region; your state native plant society or cooperative extension office has lists, and what behaves in one region can run wild in another.
The wet bottom
This is where water lingers longest. Swamp milkweed, cardinal flower, blue flag iris, soft rush, Joe Pye weed, turtlehead, and tussock sedge all handle brief inundation and come back strong.
The middle slope
Damp but rarely submerged. Little bluestem, purple coneflower, wild bergamot, New England aster, goldenrod, and switchgrass fill this band with color from midsummer into fall.
The dry rim
The upland edge, where the garden meets lawn. Prairie dropseed, butterfly milkweed, and Pennsylvania sedge knit the border together and hide the berm.
Plant in generous drifts of three to seven of the same species rather than one of everything. A rain garden loses a few plants in the first year no matter what you do, so leave room to swap in replacements.
Building It, Step by Step
- Watch a storm and mark the low edge of your intended garden with stakes.
- Call 811 to have utility lines flagged.
- Test the drainage: dig a hole 8 inches deep, fill it with water, let it drain, then fill it again. If the second fill takes more than 24 hours to disappear, choose another site.
- Lay the outline with a garden hose, excavate 6 to 8 inches, and set the topsoil aside.
- Level the bottom, shape the berm, and cut the spillway.
- Amend with a mix of roughly half coarse sand and half topsoil and compost, worked into the top 18 inches. Straight clay will not drain; straight compost will slump.
- Plant plugs on 12- to 18-inch centers, mulch with coarse shredded hardwood or pine straw, and water weekly through the first season.
Keeping It Looking Like a Garden
Maintenance is lighter than a perennial border. Leave the stems and seed heads standing through winter for insects and birds, then cut back in late spring once new growth shows. Skip fertilizer and pesticides entirely. Once a year, check where water enters the garden for accumulated sediment or eroded mulch, and top up any bare spots before weeds claim them.
Two habits keep a rain garden from turning into a weedy ditch: divide the enthusiastic spreaders every few years, and replant failures instead of leaving gaps. Native plants rarely fail from neglect. They usually fail because the zone was wrong, so note whether the spot was too wet or too dry and adjust.
Start With One Downspout
You do not need to redesign the whole yard. Pick a single downspout, build a garden of 100 to 150 square feet, and see how it behaves through a full year of weather. If it works, add a second one on the opposite side of the house. Check with your local stormwater or public works office first, since some municipalities regulate downspout disconnection or offer programs that support this kind of work. And if your property has real drainage trouble, standing water against the foundation, or a chronically wet basement, bring in a landscape professional before you dig.
Photo: 袁 勇博 / Pexels