Gravel patios are forgiving. They drain well, suit almost any garden style, and cost far less than paving. They are also easy to get wrong. A loose layer of stone tipped onto bare soil will shift underfoot, sprout weeds, and creep into the lawn. The difference between a patio that lasts and a pile of stones is the work you do before the gravel arrives. This guide walks you through marking out, digging, edging, compacting, and keeping weeds at bay — in an order that makes sense for a first-timer.
The good news is that you do not need to be a landscaper. You need patience, a few borrowed tools, and a willingness to spend a weekend on the boring parts. The gravel takes an afternoon. Everything underneath it takes the rest.
Tools and Materials You Actually Need
Hire a plate compactor for a day rather than buying one. A mattock makes short work of roots and compacted soil. Gather everything before you start; a half-dug patio is a bad place to discover missing stakes.
- Tape measure, string line, pegs, and a builder's square (or two tape measures for the 3-4-5 trick)
- Spray paint or a trickle of sand for marking curves
- Spade, mattock, and a wheelbarrow
- Plate compactor (hire, do not buy)
- Rake and a long straight length of timber for levelling
- Woven geotextile membrane — not the cheap perforated plastic sheeting sold as "weed fabric"
- Edging: treated timber, steel edging, brick, or aluminium
- Sub-base: MOT Type 1 or crushed limestone, 20mm down
- Gravel: 14–20mm angular stone for stability, pea shingle for looks
- Rubber mallet, spirit level, and a stiff broom
Step 1: Mark Out the Shape
Decide the patio size before you dig. Add roughly 300mm to each edge for the excavation, because digging always creeps outward. Run a string line around the perimeter, fix it to pegs, and check the diagonals are equal — if they are not, the shape is not square and your edging will show it.
Getting the levels right
Your patio must fall away from the house at roughly a 1 in 60 gradient. That is about 15mm of drop per linear metre. It sounds trivial and looks like nothing, but without it rain will pool against the wall and find its way in. Also keep the finished gravel surface at least 150mm below the damp-proof course of any adjacent wall.
Step 2: Dig to Depth
Excavate to about 100–125mm below your intended finished level: 75–100mm for the compacted sub-base, plus 25–30mm for the gravel itself. Remove roots, soft spots, and any building rubble. Then compact the bare soil.
If the ground is heavy clay, dig a little deeper and add 20mm of sharp sand to break the surface tension. Clay holds water. Gravel on saturated clay turns into a sponge bath.
Step 3: Build the Sub-Base
This is the step beginners skip and regret. The sub-base is what stops the patio from rutting, sinking, and developing hollows where chairs sit.
- Spread MOT Type 1 in two layers of 50mm.
- Compact each layer thoroughly with the plate compactor — several passes, overlapping.
- Check the gradient with a spirit level on a straight edge as you go.
- Finish with a final compacted surface sitting about 25mm below your intended gravel level.
Do not rush the compaction. A soft patch now means a puddle and a sunken chair later.
Step 4: Fit the Edging
Gravel has no memory. Edging is what gives it a shape to stay in.
Without edging, gravel migrates into borders, lawn, and pathways within a season. The classic options:
- Timber — cheap, quick, and looks warm, but rots in wet ground after 5–8 years.
- Steel or aluminium — slim, discreet, and lasts decades. Best for modern gardens.
- Brick or block — set on a mortar bed and haunched with concrete for the strongest edge.
Set the edging so its top sits flush with, or slightly below, the finished gravel. Anything proud of the surface becomes a trip hazard and a rake-catcher.
Step 5: Lay the Weed Membrane
Cover the whole compacted sub-base with a woven geotextile membrane. Overlap the joints by at least 150mm and cut around the edging with scissors. Water passes through; weed seeds already in the soil do not.
Be honest about what it does and does not do. The membrane stops weeds coming up from below. It does nothing about seeds blowing in from above — which is where most of your weeds will come from anyway. That brings us to maintenance.
Step 6: Order and Lay the Gravel
Work out your volume first: length × width × depth in metres. A 4m × 3m patio at 30mm deep needs about 0.36 cubic metres — roughly half a bulk bag, but always order a little extra. Gravel settles, and you will want a bag in reserve for top-ups.
Which gravel?
- Angular 14–20mm gravel — locks together underfoot, resists migration, best all-round choice.
- Pea shingle — smooth and pleasant barefoot, but rolls, spreads, and travels into the house.
- Resin-bound gravel — expensive, but firm enough to wheel a barrow across. A different project entirely.
Tip the gravel in piles across the membrane and rake it out, working backwards towards your exit so you never walk on finished ground.
Step 7: Compact and Level — Gently
Give the gravel one light pass with the plate compactor to settle it into the membrane, then rake it level again. Do not over-compact; you will punch through the membrane and destroy the drainage you built the whole patio for.
How to Keep Weeds at Bay
Expect some weeds. The membrane handles the ones underground; the rest you deal with on sight.
- Pull weeds when they are small — before they seed.
- Use a weed torch or a strong vinegar-and-salt spray rather than glyphosate on gravel.
- Keep a bag of matching gravel for top-ups. Bare patches invite weeds.
- Never use a hoe or a fork. You will shred the membrane underneath.
Keeping It Looking Good Through the Year
A gravel patio is near-zero maintenance, but not zero. Rake it once a season to redistribute stone and remove trapped leaves, which rot down into a perfect weed seedbed. Top up the level every year or two. Hose it occasionally if you want it looking sharp, and wash down the edging line so it stays a crisp edge rather than a creeping smear.
Do those three small jobs — rake, top up, tidy the edges — and a well-built gravel patio will look good for fifteen years or more. Skip the preparation, and it will look tired before the first winter is out. The gravel was never the hard part. The ground beneath it was.
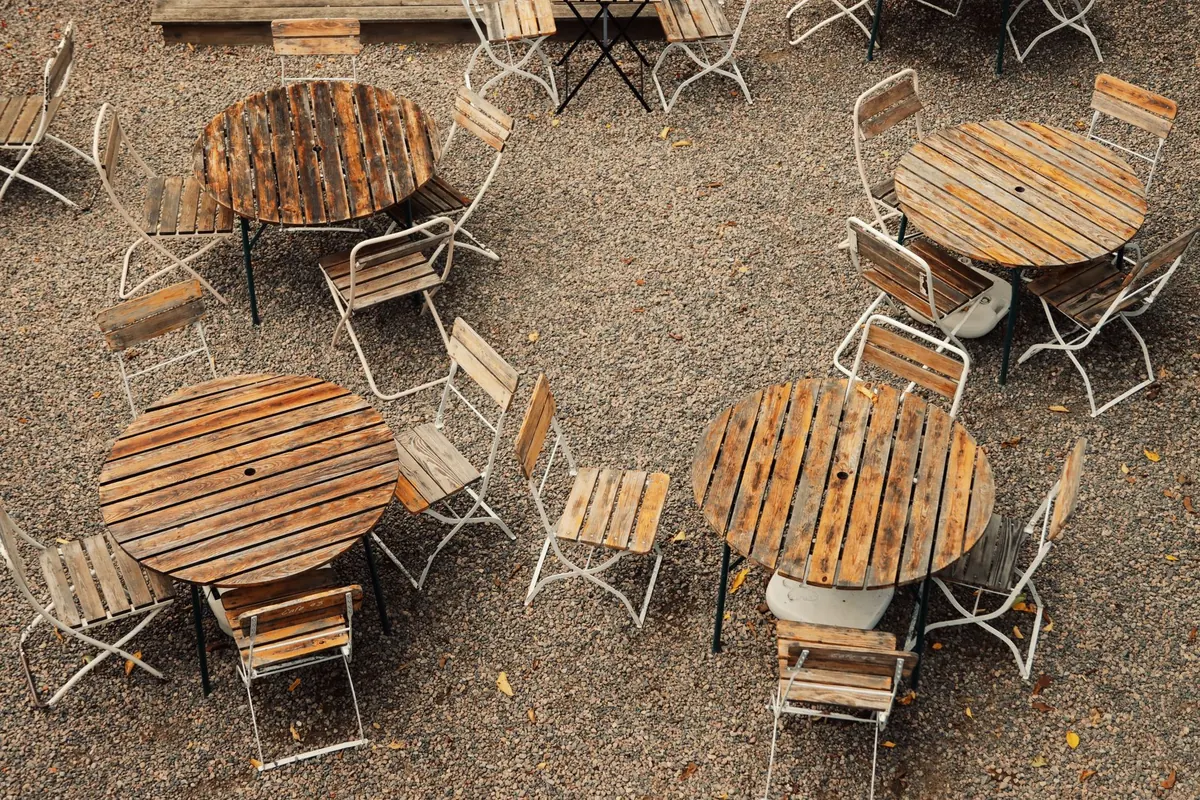
Photo: Efrem Efre / Pexels